
okay, so i have officially QUIT the blog challenge i was doing, and that is because i have WAY more important things to talk about here! i have been working my tushiee off
{oh wait, it has already been removed... haha} anyways, i have been sewing and making things at any chance i can get! i have made some REALLY cute things,
but as for now, i will share a DIY tutorial, on how to make a cute shirt that i learned to make!
i am using the same pattern that i did to make THIS shirt
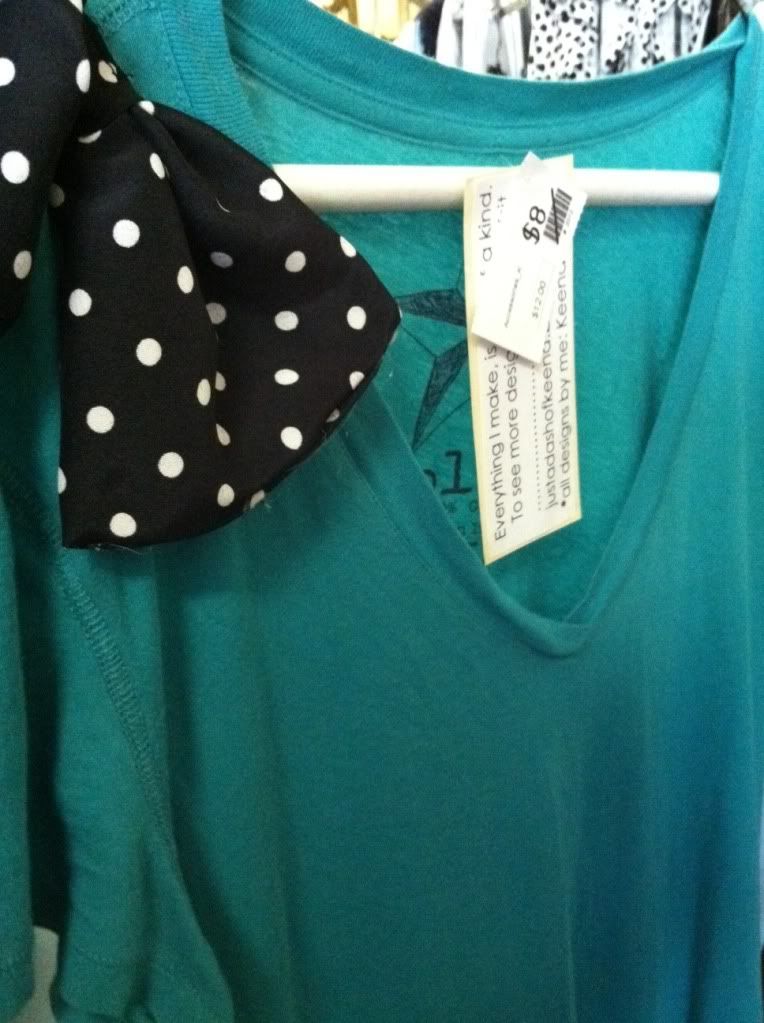
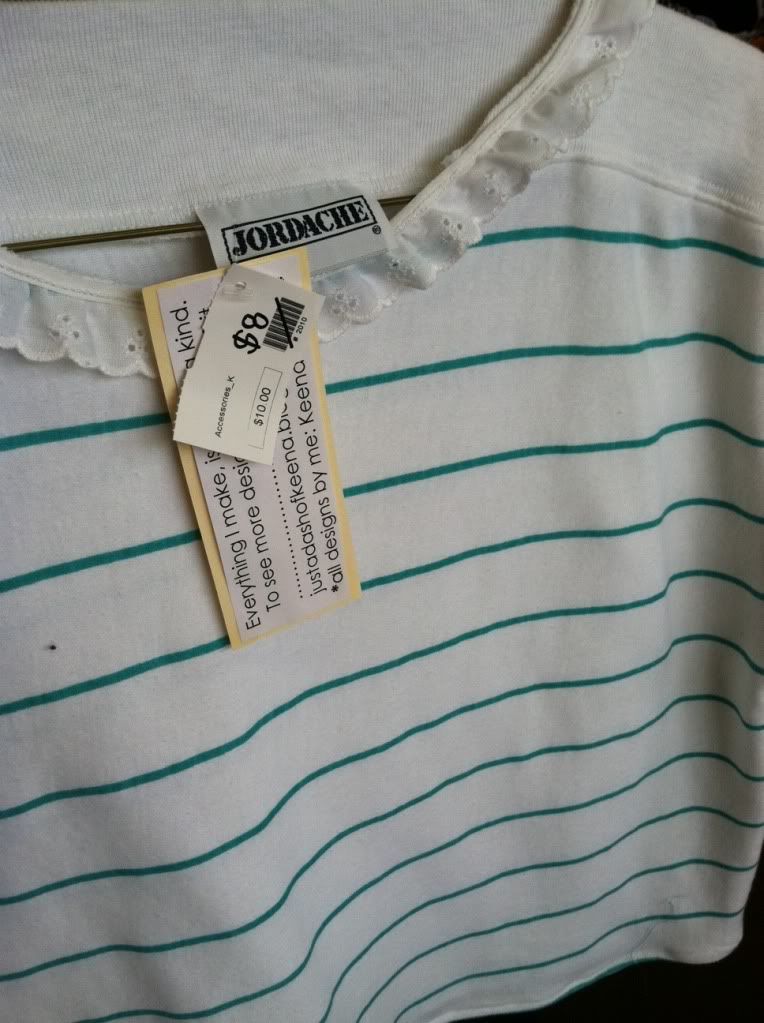
i did get some new fabric recently, so i used some of that!
this is the fabric i chose, it is red and cream... cute huh?
{oh wait, it has already been removed... haha} anyways, i have been sewing and making things at any chance i can get! i have made some REALLY cute things,
but as for now, i will share a DIY tutorial, on how to make a cute shirt that i learned to make!
i am using the same pattern that i did to make THIS shirt
i did get some new fabric recently, so i used some of that!
this is the fabric i chose, it is red and cream... cute huh?
first, i laid out my shirt that i use to measure. i already own this shirt, but it is a great loosely fitting shirt, so i used that to measure the length and width of the shirt i will be making!
cut out around one side of the shirt, and make sure that your fabric is doubled, so that you
are cutting 2 SEPARATE pieces. after you get to the halfway mark,
take off your "tracer", fold the fabric in half and cut the other side!
{we do it this way, because we want the shirt to be even and symmetrical}
make sure not to sew all the way up to the top of the shirt!
sew all the way up to wear the sleeve will curve a little bit
then, sew the tops {or the shoulders}
as you can tell by this picture, mine is already sewn!
and that is because, i forgot to take a picture, until i had already sewn it.... OOPS!
after this, you will want to try your shirt on. make sure it fits you alright! check the neck, you don't want it too high! so that is why the next step is to measure the neck, and cut to your likings! make sure to cut to the half, then fold, because you want it looking symmetrical
after cutting it, sew up the neckline. unless you have a surger,
make sure to do a double fold to prevent any fraying
you then want to check your length. decide how short or long you want it,
then add 1.5-2 inches... and CUT!
**something i would have done different**
i would have made this shirt a LITTLE bit wider, i cut it a little bit too small,
and i would have made it a bit bigger
............................................................
hope you enjoyed it! i really love making these shirts in silk,
i love LOVE silk, and i think it looks cute with a shirt like this!
i have a TON more things i have made recently, and i will be posting those soon, until then
XOXO
Keena!! I love your step-by-step instructions, I love it!!! Great shirt. You should make some and sell them in the store- handmade shirts. I bet they would be a hit!
ReplyDeleteYou are great- Love you!!
Dad
Keena I just love the clothes you make! They are so adorable. I just wanted to let you know that I think you are super talented :) haha
ReplyDeleteI am always searching online for articles that can help me. There is obviously a lot to know about this. I think you made some good points in Features also. Keep working, great job ! coffee lovers
ReplyDelete